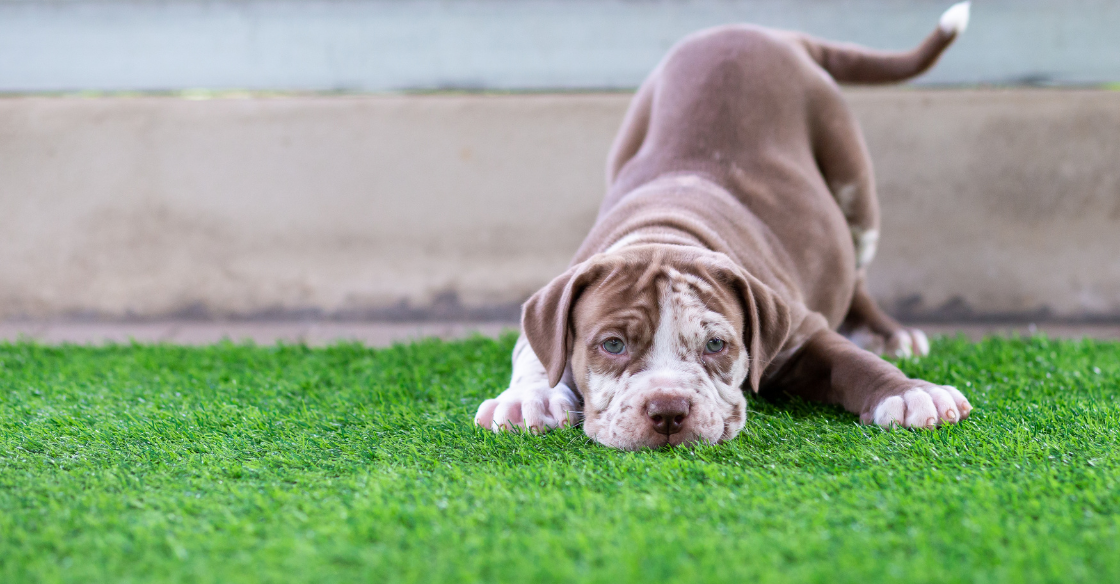
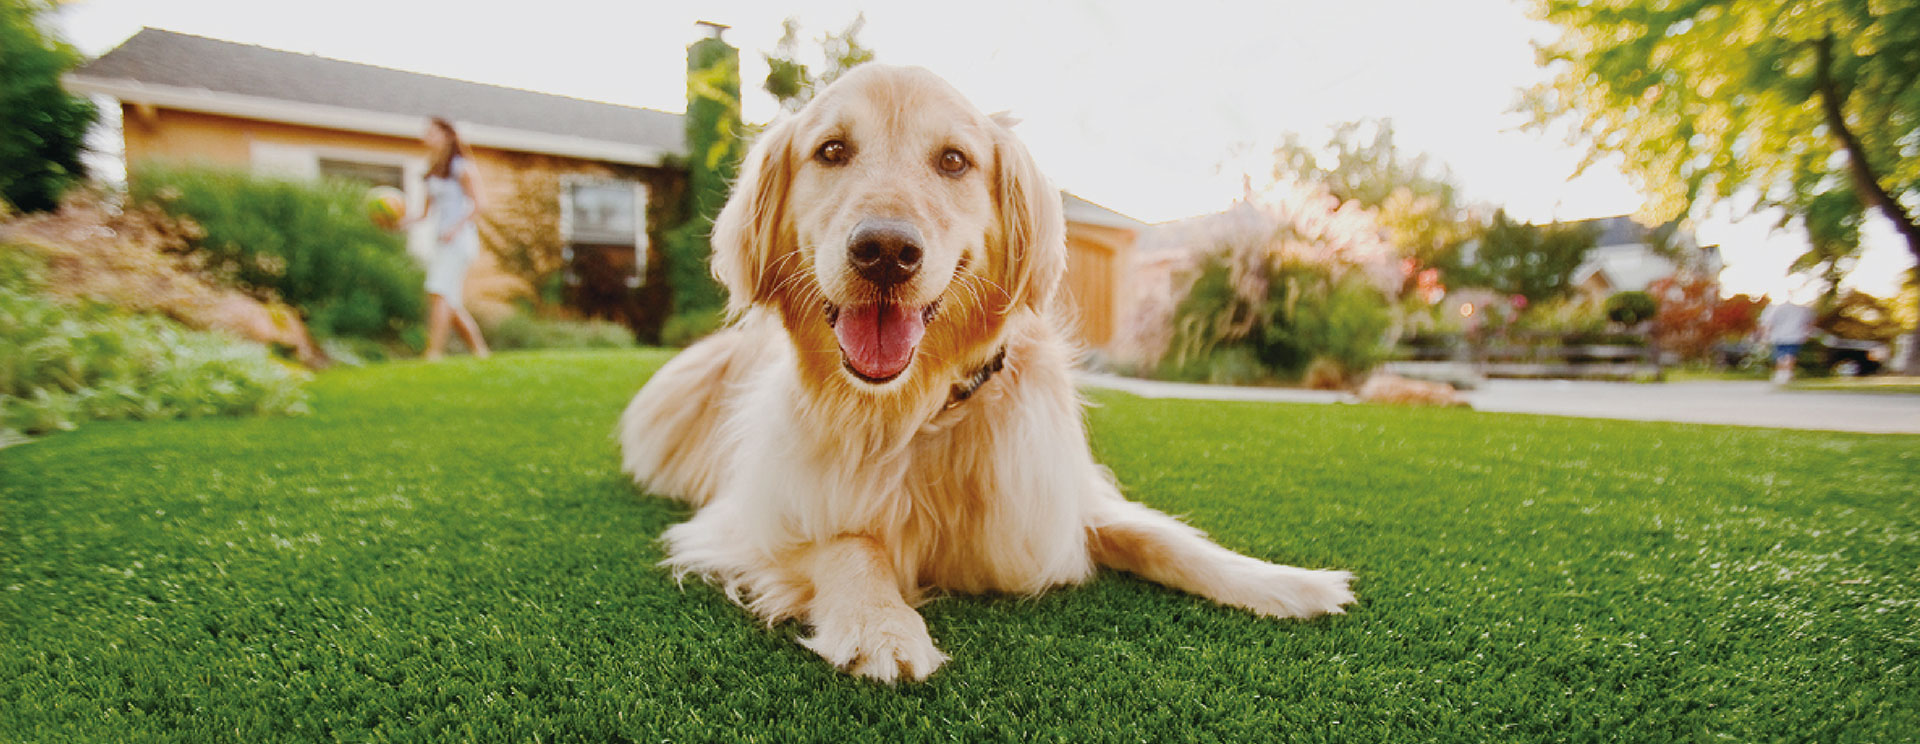
If maintaining a lush lawn amidst the antics of your furry friends seems like an impossible dream, consider the transformative power of pet turf installation. This comprehensive guide by AGSTurf will walk you through the process, from understanding the benefits of pet-friendly artificial grass to the intricate steps of installation and maintenance.

Pet-Friendly Turf: A Perfect Blend of Form and Function
What Sets Pet-Friendly Artificial Grass Apart?Gone are the days of unyielding plastic grass carpets. Today’s pet turf is a durable, low-maintenance alternative to natural grass, featuring a built-in drainage system and resistance to discoloration. AGSTurf Pet Turf products, for instance, combine lifelike aesthetics with antimicrobial protection, ensuring a clean and safe environment for your family.
Key Features of AGSTurf Pet Turf:

- Microban Technology: Integration of antimicrobial agents inhibits the growth of microbes, ensuring a cleaner and healthier lawn.
- Envirofill Infill: Replacing traditional silica, this high-quality infill requires less maintenance and is also infused with Microban for added safety.
Installing Pet Turf: A Step-by-Step Guide
Planning Stage
- Calculate Yard Size: Determine the square footage, considering a little extra for potential repairs.
- Obstacle Considerations: Identify fixed elements like sprinkler systems, trees, concrete pathways, and plan around them.
- Budget Planning: Determine the budget for tools, materials, and labor.
Preparation Stage
- Soil Removal: Remove 1.5 to 4 inches of soil, ensuring removal of roots and weeds.
- Ground Compaction: Compact the ground to remove air pockets, creating a smooth, slightly sloped surface for drainage.
Base Installation Stage
- Limestone Application: Distribute limestone over the soil for improved drainage, compressing it evenly.
- Ground Leveling: Level the ground according to drainage needs, allowing time for soil settling if necessary.
Pet Turf Installation Stage
- Careful Turf Placement: Lay out the turf carefully, avoiding dragging to prevent disruption of the base layer.
- Trimming and Inspection: Trim excess turf, check edges, seams, and ensure a tight fit. Inspect for any imperfections and fix as needed.
- Attachment: Glue edges for concrete surfaces, use anchor pins or stakes for soil attachment.
Infill Stage
- Infill Addition: Add infill for weight, flatness, and improved drainage. Infill also aids in maintaining a natural appearance.
Cleaning and Maintenance
Cleaning Process:
- Water Spray-Down: A quick 60-second spray-down with a garden hose removes solid matter efficiently.
- Artificial Turf Cleaner: Use PE-51, a bio-engineered cleaner provided during installation, to deodorize and eliminate germs and bacteria.
Benefits of Pet-Friendly Turf:
- Cost-Effective: While the initial installation cost is higher, long-term maintenance costs are minimal compared to natural grass.
- Easy to Clean: No mud, no muddy paws; the drainage system efficiently handles liquid waste, leaving you with easy solid waste clean-up.
- Effortless Aesthetics: Regardless of climate or foot traffic, synthetic pet turf maintains a perfectly manicured look year-round.
In conclusion, AGSTurf’s pet-friendly artificial turf offers a practical and aesthetically pleasing solution for pet owners in California, blending convenience with a pristine lawn appearance.
Tags
Pet Turf Pet-Friendly Turf Pet-Friendly Artificial Grass Installing Pet Turf Pet Turf Installation Stage Cleaning and Maintenance Benefits of Pet-Friendly Turf